The AC contactor is one of the most heavily worked components in your air conditioning system. Every time your thermostat calls for cooling, the contactor closes to send power to the compressor and fan motor — and every time the cycle ends, it opens again. Over thousands of cycles, those contacts wear, pit, and eventually fail. A bad contactor can leave your entire AC contactor system silent when you need it most, or worse, cause damage to the compressor itself.
This guide walks you through the most common symptoms of a failing contactor and shows you exactly how to test one with a multimeter — no guesswork, no wasted replacement parts.
What Is an AC Contactor?
An AC contactor is an electromechanical switch that controls high-current circuits using a low-voltage coil. When the thermostat sends a 24-volt signal, the coil energizes, pulling a plunger down to bridge the power contacts. When the signal stops, a spring pushes the plunger back up and the contacts separate. If you want a deeper breakdown of the parts and operating principle, see our guide on what a contactor is and how it works.
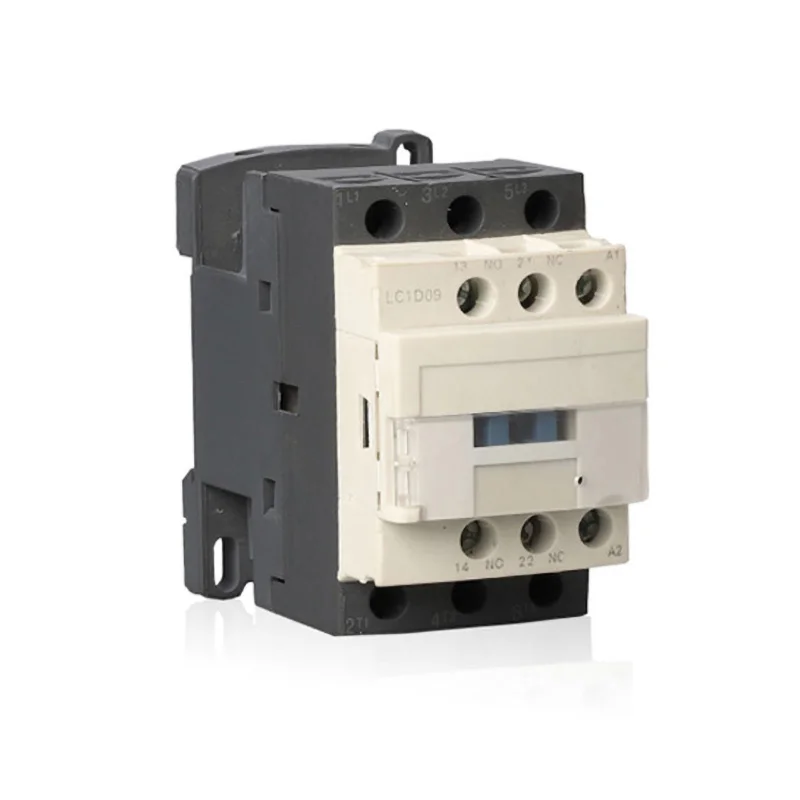
Inside a typical residential contactor, you will find three sets of line-side (L1, L2, L3) and load-side (T1, T2, T3) contacts, a 24 VAC coil, a spring-return plunger, and an arc-suppression grid. A quality AC contactor like the LC1-D series is designed for millions of operations, but no component lasts forever.
7 Warning Signs Your AC Contactor Is Bad
1. Burnt or Pitted Contacts
Pull the disconnect and visually inspect the contact faces. Healthy contacts are smooth and silver-colored. Contacts that have arced repeatedly will show black carbon buildup, pitting (tiny craters), or a rough, burnt surface. Once the contact surface degrades, electrical resistance rises, voltage drops at the compressor, and the motor may overheat or fail to start.
2. Buzzing or Chattering Sound
A loud, continuous buzz or rapid clicking (chattering) when the unit tries to start usually means the coil is weak or the contact surfaces are so pitted that the armature cannot seat firmly. The plunger vibrates instead of locking down, causing rapid make-break cycles that accelerate contact wear and can trip the compressor on thermal overload. If you hear chattering, shut the unit off immediately — running in this state can destroy the compressor.
3. The AC Unit Won’t Turn On
If the indoor fan runs but the outdoor condenser unit stays completely silent, the contactor may not be closing at all. Check for 24 VAC at the coil terminals. If voltage is present but the plunger does not pull in, the coil is open (burned out). You can verify this with a multimeter — a healthy coil reads between roughly 5 and 100 ohms depending on the contactor’s VA rating. A reading of OL (open line) confirms a dead coil.
4. The AC Unit Won’t Turn Off
The opposite problem — the condenser keeps running even after the thermostat is satisfied — almost always points to welded contacts. Under heavy inrush currents (especially during a brownout or short-cycle event), the contacts can literally fuse together. The spring cannot separate them, so power continues to flow to the compressor regardless of the thermostat signal. This is dangerous because the compressor can liquid-flood or short-cycle without protection.
5. Intermittent Cooling or Clicking
When the contactor is on the edge of failure, you may notice the AC cooling intermittently — the unit starts, runs for a few minutes, then the contactor drops out and the compressor stops. A single audible click followed by silence, then another click a few seconds later, is the classic symptom of a coil that is overheating and tripping its internal thermal protection. Once it cools, it pulls in again, only to repeat the cycle.
6. Burning Smell or Discoloration
A strong electrical burning odor near the condenser unit is a red flag. The plastic housing around the contactor may show brown or black discoloration, and the insulation on connected wires may be brittle or melted. This indicates sustained overheating from high-resistance contacts or a failing coil. Continuing to run the unit in this condition risks an electrical fire.
7. Melted or Stuck Plunger
In severe cases, the plunger itself can become physically stuck — either down (contacts welded) or up (spring jammed, dirt ingress, or coil seized). A plunger that does not move freely when pushed by hand (with power disconnected) needs a replacement contactor, not a repair.
How to Test an AC Contactor with a Multimeter
Visual symptoms tell you a lot, but a multimeter gives you hard data. For a more comprehensive testing walkthrough, see our dedicated guide to testing an AC contactor. Here is the quick procedure:
Step 1: Shut Off All Power
Turn off the thermostat, pull the condenser disconnect switch, and shut off the breaker feeding the outdoor unit. Verify with a non-contact voltage tester before touching any wires. There are two power sources here — 240 V line voltage and 24 V control voltage — and both must be dead.
Step 2: Visual Inspection
Remove the contactor cover (if present) and examine the contact faces, coil, and wire terminals. Look for the signs described above: pitting, carbon, discoloration, melted plastic, or a stuck plunger. If you see obvious damage, you can skip further testing — the contactor needs replacement.
Step 3: Test the Coil
Set your multimeter to ohms (resistance). Place the probes on the two coil terminals (usually marked A1 and A2, or coil / 24V). Normal coil resistance ranges from about 5 ohms (low-VA models) to 100 ohms (high-VA models). Consult the manufacturer’s datasheet for the exact spec. If the meter reads OL (open circuit), the coil is burned out and the contactor must be replaced. If it reads near zero ohms, the coil has shorted internally — same conclusion.
Step 4: Test the Contacts
With power still off, manually press the plunger down to simulate the energized state. Set the multimeter to ohms and probe across each pair of line and load contacts (L1–T1, L2–T2, L3–T3). A healthy closed contact should read near zero ohms (under 0.5 ohm). Any reading above a few ohms means the contact surface is degraded. Now release the plunger — the meter should read OL (open) on all three poles. If it still shows continuity, the contacts are welded shut.
Step 5: Voltage Verification
As a final check, restore power (be careful), set the thermostat to call for cooling, and measure across the coil terminals with the multimeter set to AC volts. You should read 24 VAC. If the coil receives 24 VAC but does not pull in, the coil is bad. If there is no voltage at the coil, the problem is upstream (thermostat, transformer, control board, or wiring) — not the contactor itself.
When to Replace vs. Repair an AC Contactor
Unlike circuit breakers, which provide overcurrent protection, a contactor is a switching device, not a protective device. Its contacts are consumable — they wear by design. If the contacts are lightly pitted but still function, you can dress them with a burnishing tool (never use sandpaper — it embeds grit and destroys the silver contact surface). But if the contacts are deeply pitted, blackened, or welded, replacement is the only safe option.
Similarly, a burned-out coil cannot be repaired in the field. The entire contactor must be replaced. Attempting to clean welded contacts or bypass a dead coil creates a serious fire hazard and risks destroying the compressor — a $1,500+ component versus a $20–$50 contactor.
Choosing a Replacement AC Contactor
When selecting a replacement, match these four specifications exactly:
Coil voltage — Most residential units use 24 VAC, but some commercial systems use 120 VAC or 240 VAC coils. Check the old contactor’s coil label.
Contact rating (FLA / LRA) — The full-load amps (FLA) and locked-rotor amps (LRA) must meet or exceed the original. An undersized contactor will weld again within weeks.
Number of poles — Single-pole, double-pole, and three-pole are common. Match the pole count of the original.
Physical dimensions — The new contactor must fit the mounting bracket and align with the existing wire leads.
Test coil resistance; check thermostat and transformer output
Loud buzzing when starting
Worn contacts or weak coil
Inspect contacts; measure coil ohms; replace if out of spec
Compressor won’t stop
Welded (fused) contacts
Replace contactor immediately — do not attempt to separate
Intermittent cycling
Coil overheating / thermal trip
Check for low voltage at coil; replace if voltage is normal
Burning smell
Overheating contacts or melting insulation
Shut off power; replace contactor and inspect wires
Plunger stuck up or down
Dirt, corrosion, or welded contacts
Replace — do not force the plunger
الخاتمة
A bad AC contactor is one of the most common — and most easily diagnosed — failures in an air conditioning system. The symptoms are unmistakable: buzzing, chattering, a unit that will not start or will not stop, burnt contacts, or a burning smell. A five-minute multimeter test confirms whether the coil is dead, the contacts are welded, or the problem lies elsewhere in the control circuit. When replacement is needed, match the coil voltage, contact rating, pole count, and physical size — and always shut off all power before touching any terminals.
الأسئلة الشائعة
How long does an AC contactor typically last?
A quality AC contactor is rated for hundreds of thousands to millions of operations. In a typical residential setting, expect 5–10 years of service. Heavy-use commercial systems in hot climates may need replacement every 2–3 years.
Can I clean AC contactor contacts instead of replacing them?
Lightly tarnished contacts can be cleaned with a contact burnishing tool — never use sandpaper or a file, as they embed abrasive particles in the soft silver surface. If contacts are deeply pitted, blackened, or welded, replacement is the only safe option.
What causes an AC contactor coil to burn out?
The most common causes are sustained low voltage (the coil draws more current to maintain the magnetic field), voltage spikes, short cycling (rapid on-off), and physical contamination (moisture, insects, or corrosion). A coil that reads OL on a multimeter is permanently open and the contactor must be replaced.
Is it safe to push the plunger manually to test the compressor?
Only as a very brief diagnostic — and only if you understand that doing so bypasses all safety interlocks. Use a non-conductive tool (like a wooden stick or plastic pen), keep your fingers clear of the contacts, and never hold the plunger down for more than a second or two. If the compressor starts, the problem is in the contactor coil or control circuit, not the compressor itself.
What ohm reading indicates a bad AC contactor coil?
OL (open line) means the coil winding is broken. Near-zero ohms means the coil has shorted internally. A healthy coil reads between approximately 5 and 100 ohms depending on the contactor’s VA rating — always check the manufacturer’s datasheet for the exact specification.
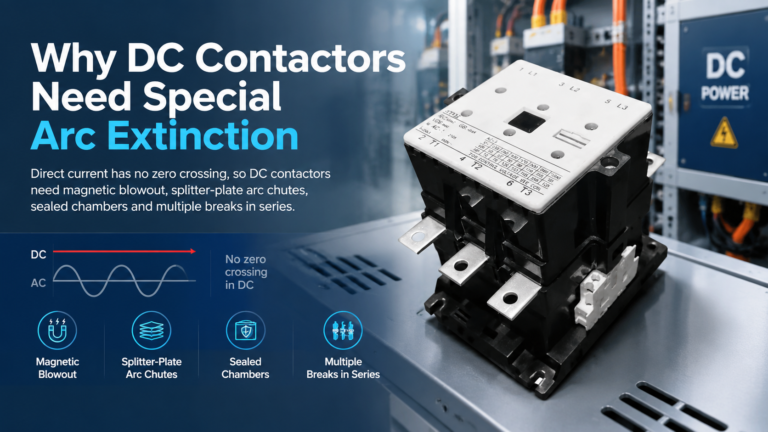
DC contactors need special arc extinction because DC current has no natural zero crossing. See how magnetic blowout, arc chutes and series breaks kill a DC arc — and how to specify one correctly.
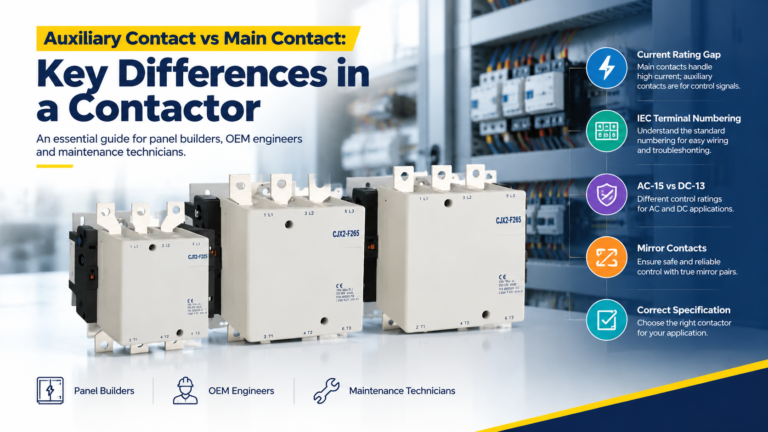
Main contacts carry the motor current; auxiliary contacts carry control signals. Learn the real rating gap, IEC terminal codes, and how to spec both correctly.
A sourcing guide to modular contactor manufacturers: match the four supplier archetypes, qualify any factory with a nine-point framework, and send an RFQ that gets comparable quotations.